I have seen these crayon rolls all over the place and have wanted to make some for my kids for quite some time. I finished their quiet books and had some fabric left over from the covers, so I decided now was the time to try.
I looked at several ideas online but ended up making up my own to fit what I wanted.
To make a crayon roll that will hold 10 crayons
Here is what you need:
Front piece: 11.5" X 7"
Back piece: 11.5" X 7"
Pocket: 11.5" X 9"
Outer decor & closure strap: 8" X 5"
Interfacing pieces:
11.5" X 7"
11.5" X 4.5"
8" X 5"
For mine I used the solid blue for the front and back and the print fabric for the pocket and strap [Interfacing not shown]
I also used 1/2" seam allowance on the "insides"
and a 1/4" allowance on the "outside"
Step 1: Cut out pieces (see sizes above)
Step 2: Fold decor piece in half with right sides together (long ways- so it should be 2.5 X 8) and iron.
Step 3: Fold pocket piece in half with wrong sides together and iron (should end up being 11.5 X 4.5)
 Step 4: Sew along one short edge and the long edge of decor piece (leave third edge open)
Step 5: Turn right side out and iron flat.
 Step 6: Sew along the outside of your decor piece
*I also sewed down the middle of my piece in three places to add decor
 Step 7: Place 11.5 X 7 piece of interface on table. Top with front piece (right side up)
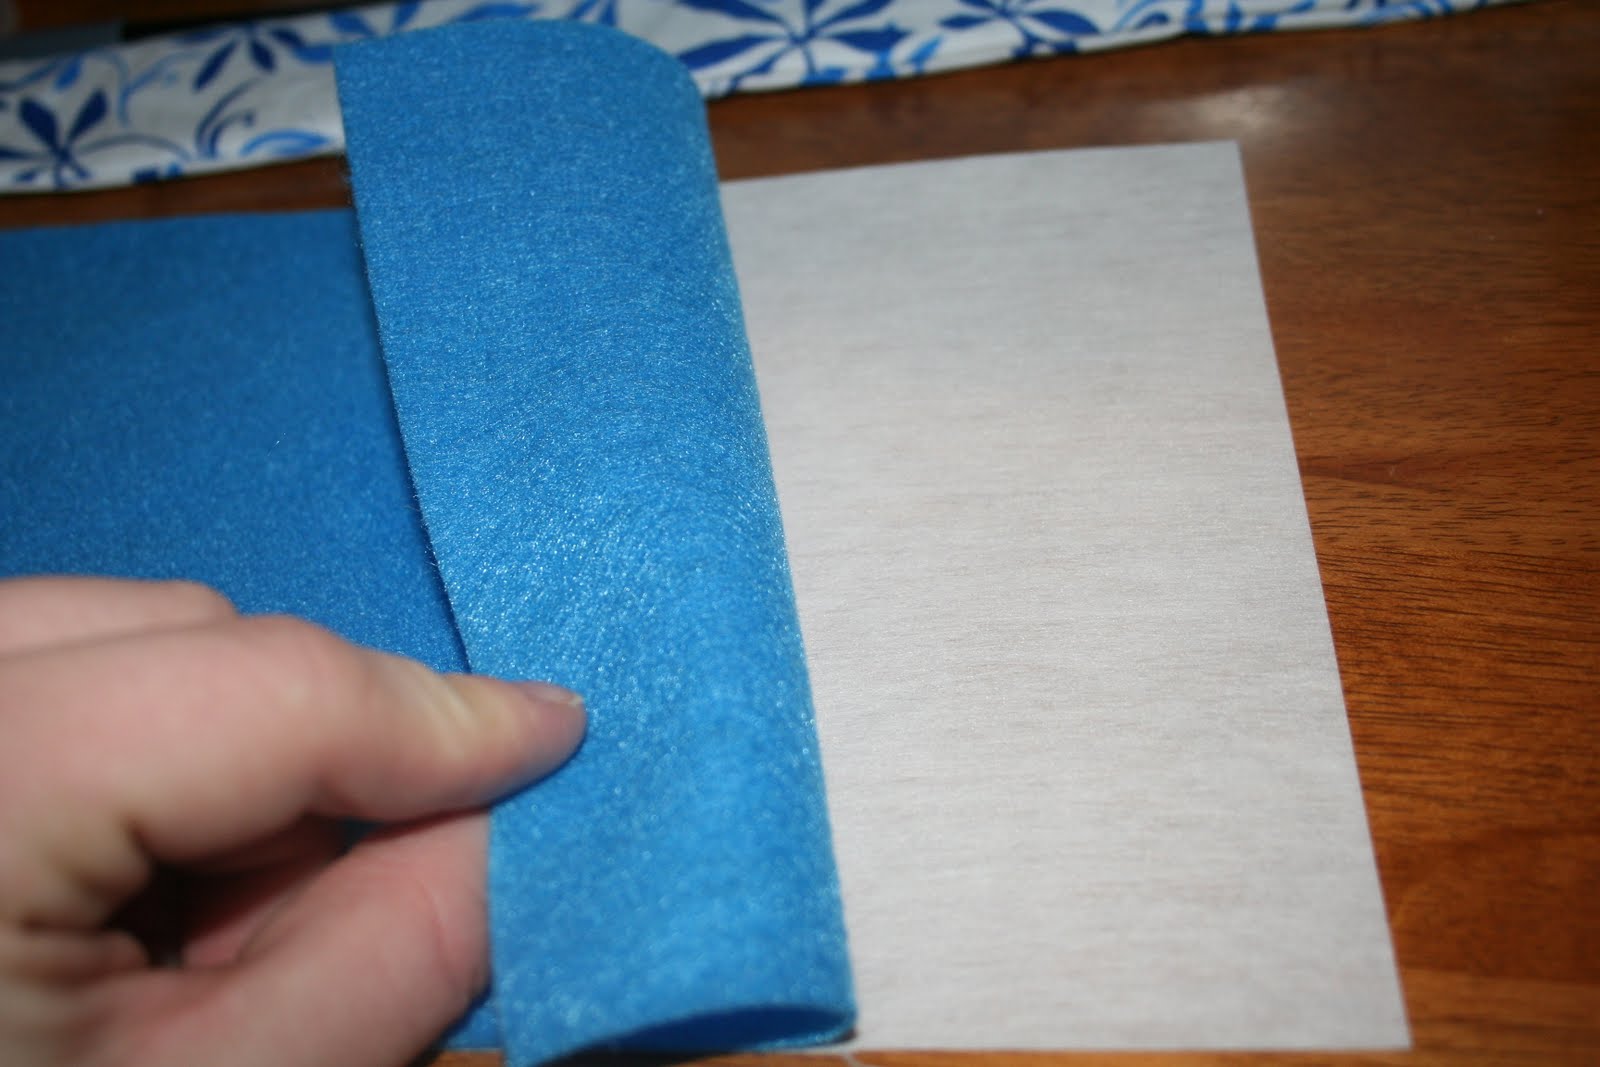 Step 8: Place 11.5 X 4.5 piece of interface inside of pocket piece and lay ontop of front piece.
 Line up along the sides and the bottom edge. The fold of your pocket piece should be at the top.
Step 9: Find the center of your pocket piece and draw a line from top to bottom of pocket (I just used a really like pencil line)
Step 10: Measure 1 inch from your center line and continue marking lines to the right and left of the middle.
You should end up with 9 lines.
The end sections should be 1.75" wide
 Step 11: Starting at the top of your pocket BACK STITCH and then sew along the lines you just created.
I started from the center and worked my way out.
*Be sure to back stitch to provide a steardy pocket!! (I went over each end about three times!)

After this step I seem to have gotten too wrapped up in what I was doing and didn't take pictures...SORRY!
Step 12: Sew decor piece onto middle of back piece- matching the raw edge of decor piece with the edge of the back piece. (The excess piece that hangs past your back piece should be the finished edge and will become your strap)
Step 12: Sew decor piece onto middle of back piece- matching the raw edge of decor piece with the edge of the back piece. (The excess piece that hangs past your back piece should be the finished edge and will become your strap)
Step 13: Fold strap piece in to back piece (matching up at the edge) and pin.
Step 14: Lay back piece ontop of front piece (Right sides together) and sew all the way around- except leaving a few inches to turn
[I left my opening at the top so I could secure the decor strap and pocket piece into place!]
[I left my opening at the top so I could secure the decor strap and pocket piece into place!]
Step 15: Clip corners (remembered this picture!)
 Step 16: Turn right side out
 Closed view!
 Step 16: Turn right side out
Step 17: Unpin strap
Step 18: Iron flat and fold in unsewn edge
Step 19: Pin unsewn edge
Step 20: Sew around entire project
Step 21: Add crayons and...
ENJOY!!!
 Closed view!
[I sewed a button onto the front to cover up the ugly velcro mark that I had made on the strap]
 Hopefully these will keep the kiddos occupied in church tomorrow!!
 Hopefully these will keep the kiddos occupied in church tomorrow!!
 Of the plain color I used a piece of fabric that was 13" X 15"
Of the decor fabric I used a piece that was 17" X 9"
Hope this helps


No comments:
Post a Comment